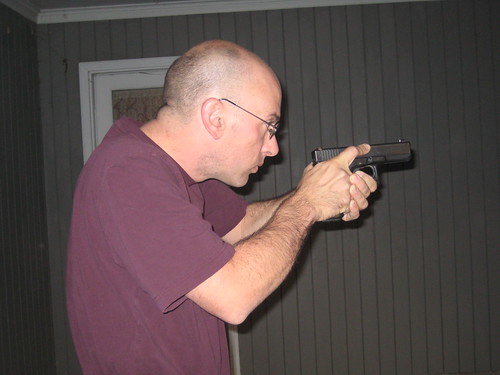
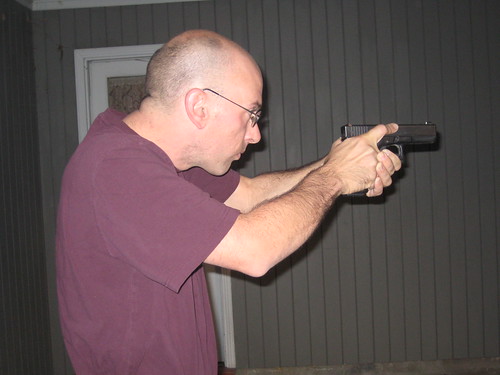
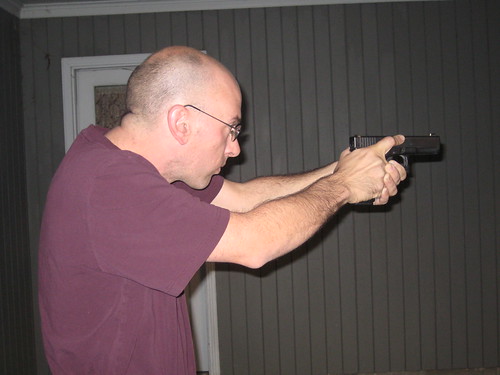
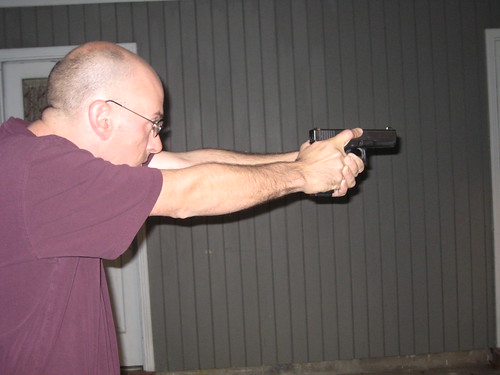
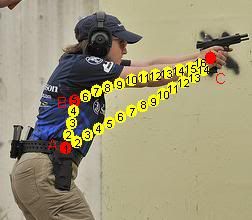
In contrast, the 4 count draw has the gun clearing the holster and continuing upward until the gun hand hits its natural limit of travel and the muzzle is cammed forward at Count 2. The hands join high on the chest and the gun is driven straight out to target. Variations on the 4 count draw can be seen on the ShivWorks Fighting Handgun DVD, Kelly McCann's videos, Ron Avery's video series and from more and more trainers. To the best of my knowledge, Louis Awerbuck was the first trainer to introduce the 90-degree/4-Count drawstroke to the training community, but I'm sure their was much parallel development going on.
We need a robust drawstroke that takes into account the widest range of foreseeable problems and allows for a singular response. Under duress is not the time to have to sort out which drawstroke, or how to modify a drawstroke, or what gun position you should employ.
What follows is a very detailed breakdown illustrating the 4-Count, or 90-degree, Drawstroke as I teach it. Additionally, I'll illustrate some commonly taught variations of some of the counts and explain the thought processes behind them.
Some Basic Points
Drawstroke is the definitive motor skill related to fighting with a handgun.
Drawstroke is a 4-Count maneuver consisting of a, primarily, vertical line followed by a, primarily, horizontal line.
At each count, the weapon is higher and further forward than at the previous count.
The further from your torso the gun is, the greater the weapon retention issues.
The photos for this sequence will begin with establishing the Full Firing Grip on the holstered handgun.
Pic One illustrates the initial interface with the pistol. The thumb is flagged. The fingers, including the trigger finger, are extended and the web of the hand [between the thumb and forefinger] is driven deep into the tang of the pistol.
By keeping the thumb rigidly extended, we maximize contact between the gun hand thumb and the body, thereby increasing tactile awareness of gun position, we allow the highest practical position of the web of the hand relative to the butt of the gun and we do not have to reposition the gun hand thumb when it comes time to establish our two hand grip.
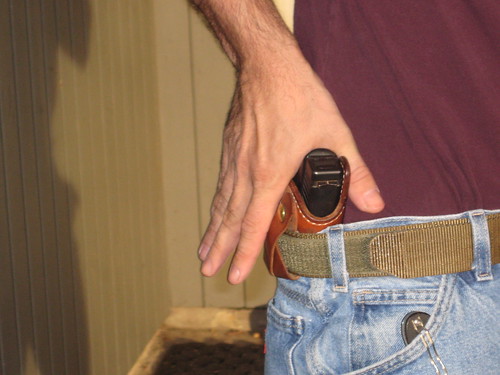
Next, the fingertips of the gun hand TOUCH the front strap of the pistol. This may seem insignificant. If you always open carry in duty gear or only carry outside the waistband with an open front concealment garment, you may never appreciate the need for this. However, if you truly carry concealed, particularly with an undershirt between your gun and a closed front cover garment, you'll probably recognize the import.
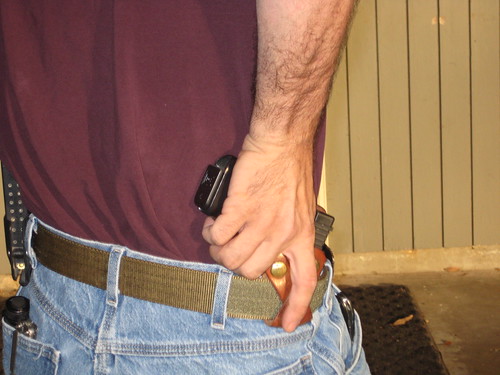
If you allow the fingers to simply wrap around the butt of the gun, very often you will wind up with material between your hand and the gun. Obviously, this could present a problem during a reactive draw, when you can least afford it. If you always touch the front strap and slide your fingers into position, you mitigate this issue.
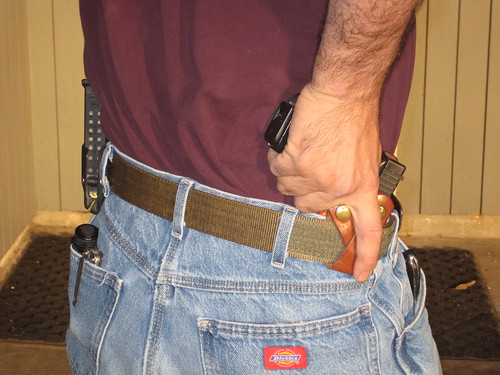
While the primary hand is establishing the FFG on the holstered weapon, the other hand is staged flat against the chest no lower than the nipple line.
This position of the left hand [for a right handed shooter] supports a high collection point [e.g. where the two hand grasp of the firearm is established] which, in turn, supports getting the gun into the eye-target line as early in the horizontal line as practical.
Additionally, the off hand is in a position above the muzzle when the gun is at Count 2 and has more 'workspace' to become involved in physical manipulation and striking without covering oneself with the muzzle.
Following the establishment of the Full Firing Grip at Count One, we progress to Count Two. Count Two is the end of the vertical line of presentation and the beginning of the horizontal line of presentation. While we tend to drive the gun straight ahead of the torso, directly towards the paper target in front of us, one of the beauties of Count Two is that the gun may be driven straight to threat regardless of orientation to said threat. From Count Two, the weapon is driven straight to threat anywhere along the horizontal plane established by consistent 'stroke. If the threat is 30-degrees off-square, the gun is still driven straight to threat. If the threat is 95-degrees off-square, the gun is still driven straight to threat. If you are seated in the driver's seat of a vehicle and the threat presents at a hard left rear angle, the gun is still drawn to Count Two and driven straight to threat. Count Two is also a close quarters/retention firing position built into drawstroke. Notice the flagged thumb, locked wrist, high elbow and significant downward angle of the muzzle. The wrist and elbow are in the same orientation relative to the gun as they are at full extension. Familiarity with the downward angle and with the shotline thus established allows for much greater confidence when it comes to integrating unarmed skills and contact distance shooting into our skill sets.
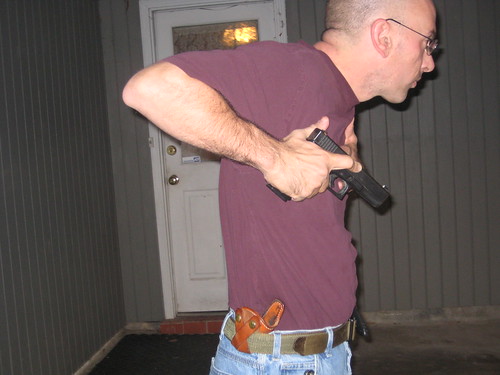
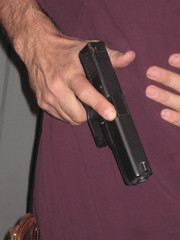
An oft seen variation on count two of drawstroke has the shooter dropping the gun side elbow to bring the muzzle horizontal with the ground. The reasons exspoused tend to focus on getting 'better hits' on the target. This is pretty meaningless. The assumption that 'A zone' hits are going to shut someone down in the midst of a contact distance violent encounter and, somehow cause the problem to go away is ludicrous. You are in a fight for your life and your gun skill had damn well better support your ability to fight.
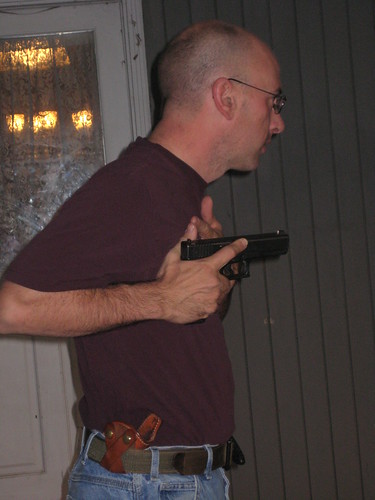
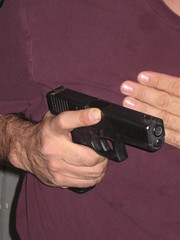
The gun is one piece of the overall situation. Bullets do not stop the aggressor's forward momentum. Bullets on the bad guy will not keep you on your feet. Gun pointed at bad guy will not keep you conscious when his big right hand crushes the bones around your left eye and his bulk drives you to the ground, crushing the air out of you .
Moving from Count Two to Count Three is accomplished by driving the gun across the torso until it enters the peripheral vision. Notice the gun is further forward and higher than it was at count two.
Contact is maintained with the flagged thumb from count two until the gun reaches its' position under the dominant eye. The package moves forward until it enters the peripheral vision.
It's still Count Three even if we are firing one-handed. As a general rule, if we're going to put two hands on the gun, we do so at Count Three, but 'hands meeting' is not the defining attribute.
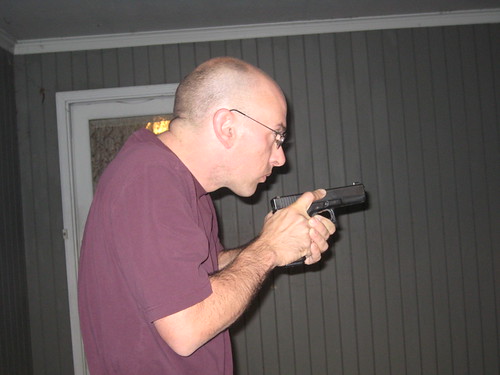
Count Four is a bit more conceptual than the others. Count Four is defined as 'Appropriate Extension or Compression'. While full extension [arms locked out, gun in eye-target line, focus on front sight, working trigger] is the most common form that Count Four takes, it is by no means the only one.Here's a series of pictures illustrating various degrees of extension within the horizontal line of presentation.
