Well, life is a series of learning experiences you live through.....
Lots of here learning;
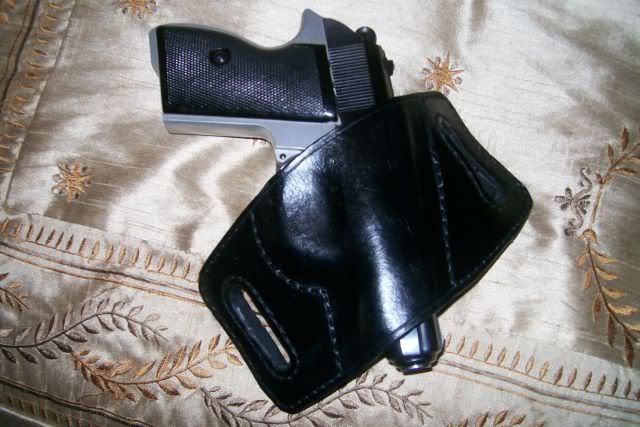
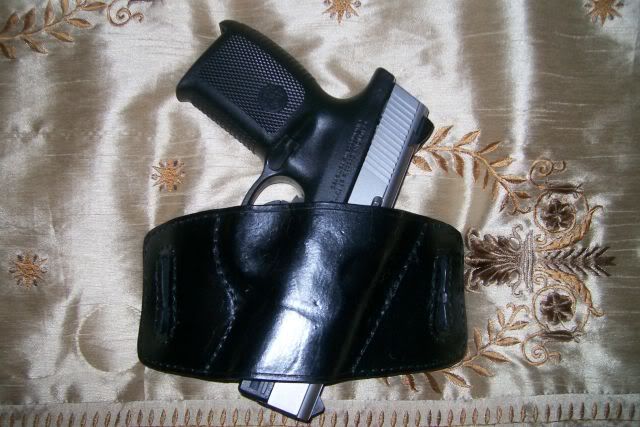
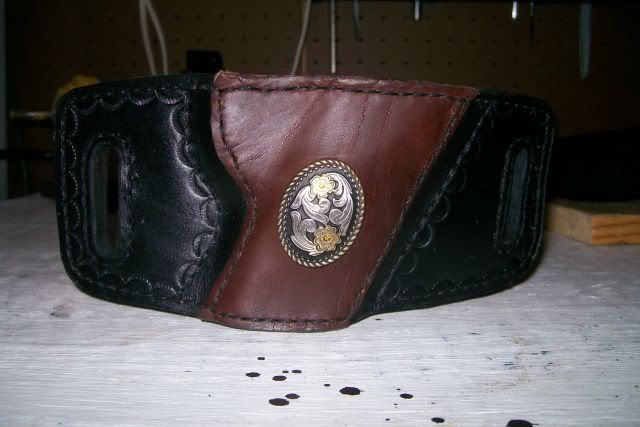
-Neither of the top two holsters are the colors started with....covered mistakes with darker dyes.
-lots of trouble using the dyes. Not to be confused with paint.
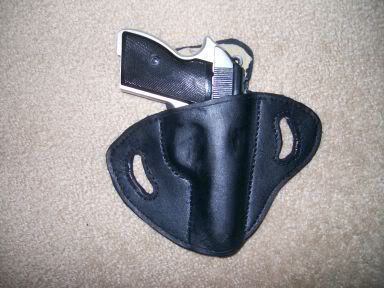
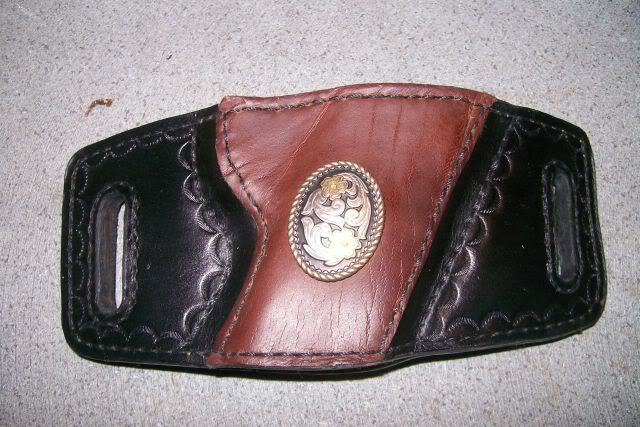
-the TI holster (top) lost all tooling with the molding (look at tooling on the earlier post), yet the R holster did not lose tooling during the molding, done at the same time, same process???..???
-the tooled/cut out top layer (R holster, top) should be dyed and sealed before molding??? maybe...black dye runs on red suede when wet.
-dye easily wicks into places you don't want it to go.....or doesn't where you want it.
-the dye colors change with the sealer, about 5 levels darker, the lighter color in the fill on the holster bottom left
WAS the original color of the darker one on the right
UNTIL I sealed it with a water based Elmer's glue-like dye sealant. I only used nuetral shoe polish on the one on the left (light one).
These did so well until molding and dyeing....art went to mess pretty quickly. Luckily, they will work well as holsters......they hold the guns effectively.


I originally cut these for pistol, but measure too tight, so changed plan and made 5" 1911 holster instead.

Other side comment is that these won't be fast draw because I didn't consider being able to get your shooting grip when drawing your weapon without readjustment of your hand on the grip. Movement of hand position is very slght, but still there. To under-cut these to compensate loses the belt loop position high up on the pistol....with 1911's being grip (ammo)heavy, you want as much support as high up on the gun as you can get it (without affecting the draw grip and feeling floppy like "standing around" competition holsters).
These are all full coverage, high support, full support pasture / hunting holsters.